

What Apply My Brand does
To apply brand guidelines to a store design with AI, save the brand once on the Brands page, then open Apply My Brand, upload a photo or render of the store and pick the brand. The store comes back re-dressed in the brand's materials, colours and fixture language, with the camera, walls and fixture positions kept on the Precise setting. The tool estimates 30 to 60 seconds.
It is for designers who work for a brand with rules, such as a chain, a franchise or a client with a brand book, and who are tired of retyping the same palette and materials into every prompt. Save them once, and every render can follow them.
What you get from it
- Write the brand once. The palette, materials, fixture language and rules live on the brand. Each render pulls them in, so you do not rewrite them or forget a line.
- Rules, not just colours. A saved brand can hold materials with where they are used, fixture language, lighting, signage rules and a Never list. The render is told about these, not only the swatches.
- One tool for many clients. You can save more than one brand and pick the right one in the tool. A brand with nothing in it is greyed out as empty.
- Your layout stays. Follow my layout offers Precise, which keeps the camera, walls and fixture positions, and Creative, which lets the layout change to suit the brand.
- You still direct the details. The prompt is added after the brand, so “use the brand's terrazzo for the floor only” wins over a general rule.
- No invented branding. Signage stays blank unless you name the brand, so the render does not show a made-up identity in front of the client.
What a saved brand holds
On the Brands page, choose New brand and fill in Describe the brand: a brand name, a category (Retail store, Showroom, Restaurant, Café, Hotel / hospitality and others) and a few sentences on who the brand is for and how the store should feel. Generate guidelines turns that into a structured set, which costs 50 credits. You can then edit every field with the Edit button.
| Field on the brand | Sent with the render? |
|---|---|
| Palette (colour names and swatches) | Yes, up to six colours |
| Materials & finishes, with where each is used | Yes, up to six |
| Fixture language, Lighting, Signage | Yes |
| Design language (keywords) | Yes, up to eight |
| Never list | Yes, the first four |
| Free-text guidelines | Yes, added last |
| Do list, store formats, positioning, logo, fonts | No, not in the summary the render receives |
The summary is capped at about 1,400 characters and ordered so that the fields which change the image most come first. So put the most important rules in the palette, materials and fixture language, not at the bottom of a long free-text field.
How to use it, step by step
- Save the brand on the Brands page and check the generated palette, materials and rules. Edit anything that is wrong.
- Open Apply My Brand and upload a store photo or render.
- Pick the brand. The tool defaults to the first brand that has content. If no brand has colours or materials yet, it sends you back to add one.
- Set Light (Auto, Day, Golden hour, Evening or Night) and Follow my layout (Precise or Creative).
- Add direction in “Anything specific?” and press Generate. Fast is a paid-only engine and adds 5 credits.
Try this prompt: “Use the brand's terrazzo for the floor only.” Brand: your saved brand · Light: Day · Follow my layout: Precise.
A real example
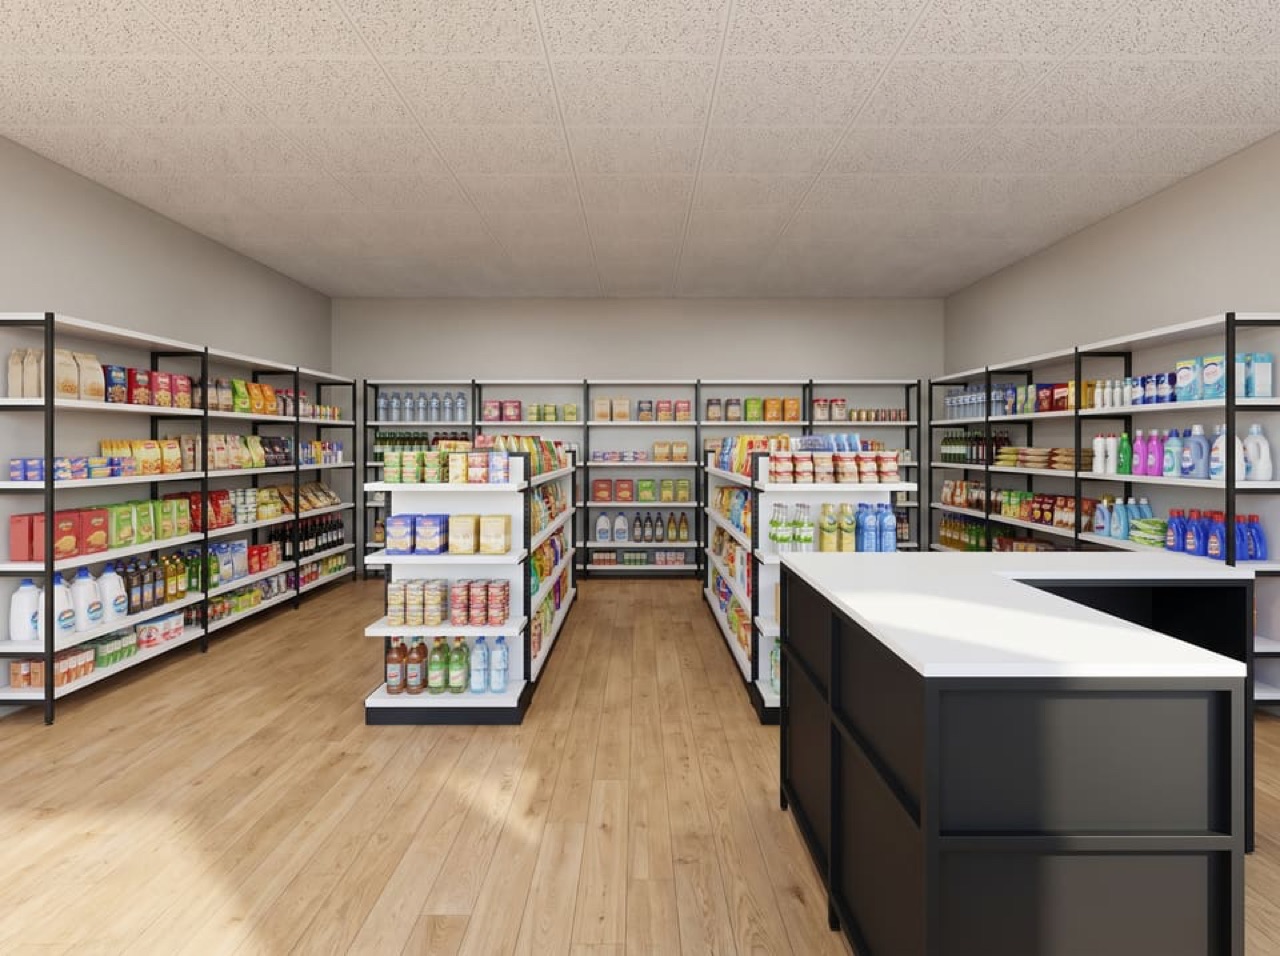
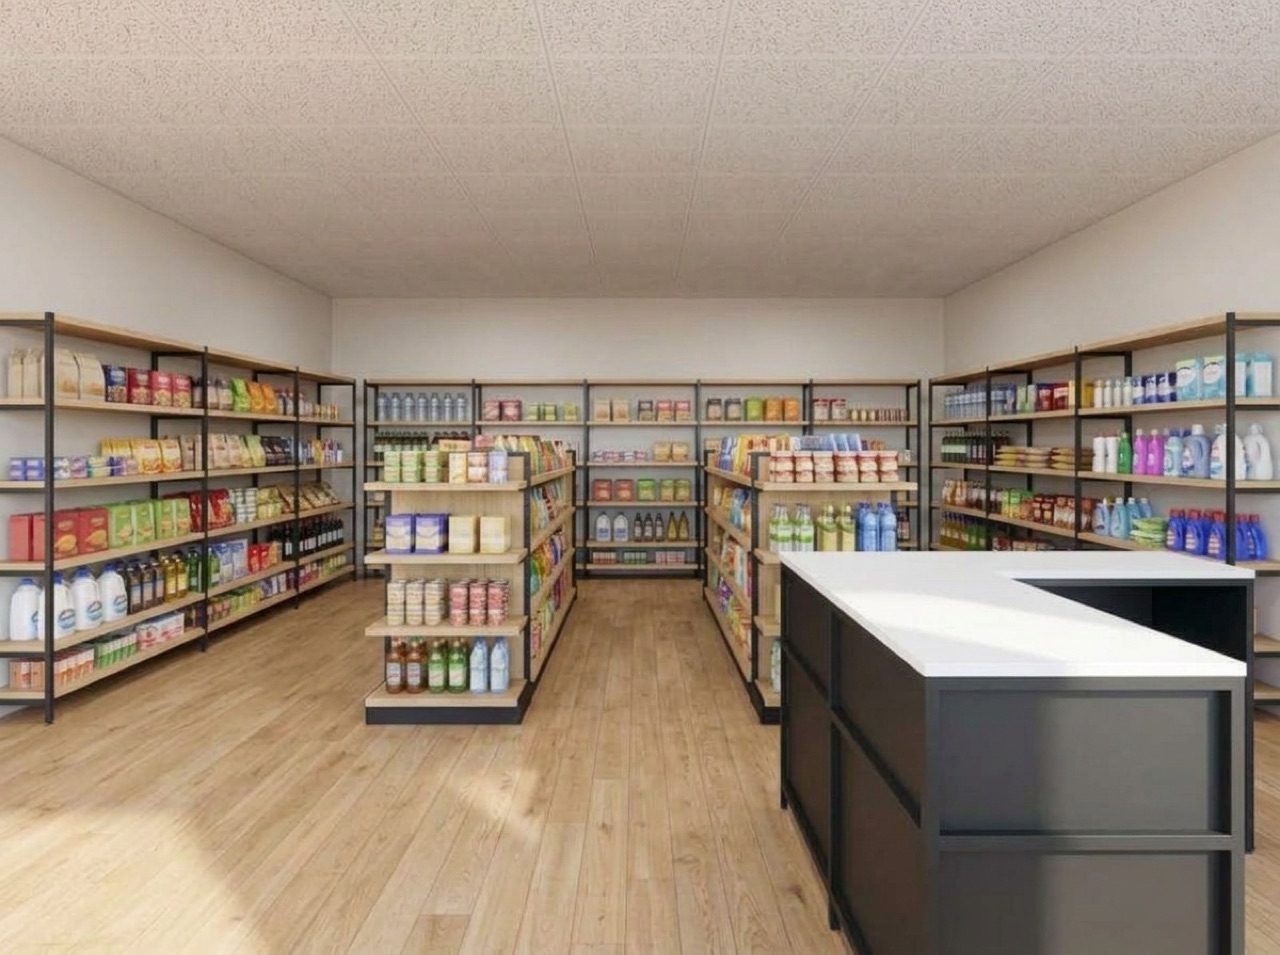
A convenience store render, re-dressed in a brand called NOVA RETAIL: light oak, chalk walls and graphite.
What it can't do
It does not place your logo, set your typeface or reproduce a brand book page by page. The fonts and logo on a brand are not part of what the render receives, and the Do list is not either. It applies finishes, colours and fixture rules to an image, and those rules are only as good as what you saved. The result is an AI image, so check it against the brand book before a client sees it.
If your reference is a mood and not a written brand, use Style Transfer. For the fixtures themselves, our retail fixture design guide covers sizes and materials, and Design Studio is where a brand's materials, fixtures and store formats become an editable 3D store.
Ready? Open Apply My Brand. A render costs 25 credits, and free accounts start with 100.
FAQ
How do I apply brand guidelines to a store design with AI?
Save the brand once on the Brands page, then open Apply My Brand, upload a photo or render of the store, pick the brand and press Generate. The store comes back re-dressed in the brand's palette, materials and fixture language.
What does a saved brand contain?
A name, plus store-identity guidelines: palette, materials and finishes, fixture language, signage, lighting, design language, do and never lists and store formats. You can generate them from a description and edit every field.
Will my logo appear on the store signage?
Not automatically. The brand summary sent with the render covers palette, materials, fixtures, lighting, signage rules and design language, not a logo or fonts. Signage stays blank unless you name the brand in your own prompt, and even then you should check what was drawn.
What if my brand is empty?
A brand with no colours, materials or guidelines can't be applied. It shows as empty in the picker and the tool asks you to add details on the Brands page first.


